Key Takeaways
- Reverse searing begins with cooking steak at a low temperature (around 225°F) to ensure even cooking and moisture retention.
- A meat thermometer is essential for accurately monitoring the internal temperature, pulling the steak at 10°F below the desired doneness for optimal results.
- The high-temperature sear (about 500°F) that follows is critical for creating a flavorful crust while preserving the steak’s juicy interior.
- Choose thick cuts like ribeye or New York strip for the best results, as they retain juiciness during the reverse searing process.
- Allow the steak to rest for 5 to 10 minutes after searing to let juices redistribute, enhancing flavor and tenderness.
- Avoid common pitfalls like skipping the meat thermometer or not preheating the grill; both can lead to less-than-perfect steaks.
If you’re craving a perfectly cooked steak that’s juicy and tender, reverse searing might just be your new favorite technique. This method flips the traditional grilling process on its head, allowing for even cooking and a delicious crust. Imagine sinking your teeth into a steak that’s perfectly medium-rare from edge to edge, with a mouthwatering sear that seals in all those savory juices.
I’ve experimented with various grilling techniques over the years, but reverse searing has truly elevated my steak game. It’s not just about cooking; it’s about creating an unforgettable dining experience. Join me as I dive into the steps and tips for mastering reverse searing on the grill, ensuring you’ll impress your family and friends at your next barbecue.
Overview of Reverse Searing
Reverse searing transforms ordinary grilling into a culinary art. This technique involves cooking the steak at a low temperature first, then finishing it with a high-temperature sear. The result? A perfectly cooked steak that’s juicy on the inside and has a flavorful crust.
I typically start by preheating my grill to a low temperature, around 225°F (107°C). I use indirect heat, placing the steak away from direct flames. This allows the steak to cook evenly. For a more accurate internal temperature, I rely on a meat thermometer. Cooking examples show that steaks achieve optimal doneness when pulled from the grill at roughly 10°F (5.5°C) below the desired temperature.
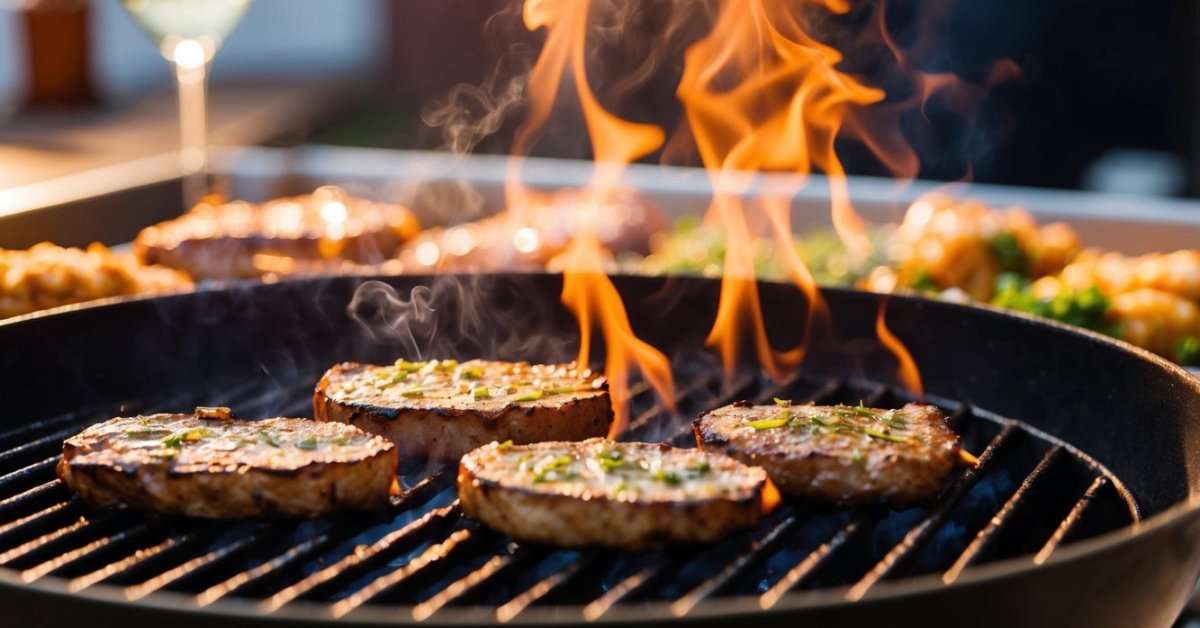
Once the steak reaches the target internal temperature, it’s time for the sear. I crank up the grill’s heat to around 500°F (260°C). Placing the steak directly over the flames creates a crust that seals in juices and enhances flavor. Timing the sear is critical; usually, just one to two minutes on each side suffices.
A vital component of reverse searing is resting the steak. Once seared, I let it rest for about 5 to 10 minutes. Resting allows juices to redistribute, ensuring each bite is packed with flavor. Overall, reverse searing offers a foolproof way to impress family and friends with mouthwatering steak that’s perfectly cooked every time.
Benefits of Reverse Searing Steak
Reverse searing steak provides unique advantages for any grilling enthusiast. This technique boosts flavor and ensures perfect doneness every time.
Improved Flavor
Enhanced flavor comes from the slow initial cooking that allows the beef to retain its natural juices. The low temperature promotes even heat distribution, preventing overcooking and keeping the meat moist. The quick, high-heat sear at the end caramelizes the exterior, leading to a rich, savory crust that complements the tender interior. Infusing smoky flavors from the grill adds extra depth, making each bite a delight.
Perfectly Cooked Steak
Perfectly cooked steak results from careful temperature control. By starting with low heat, I avoid the common pitfall of charring the outside while leaving the inside undercooked. Monitoring the internal temperature with a meat thermometer guarantees I pull the steak before it reaches the desired doneness, allowing for precise cooking. This method also enhances texture, ensuring the steak remains juicy, tender, and full of flavor, impressing everyone gathered around the grill.
The Reverse Searing Process
Reverse searing transforms how I grill steak, ensuring a juicy interior and a beautifully crusted exterior. Understanding the essential steps in this process unlocks mouthwatering results, perfect for impressing family and friends.
Preparing the Steak
Preparing the steak involves choosing the right cut and seasoning effectively. I prefer thick cuts, like ribeye or New York strip, aiming for at least 1.5 inches thick. I season the steak generously with salt and pepper. Sometimes, I add garlic powder or a spice rub for an extra flavor kick. I allow the steak to rest at room temperature for about 30 minutes before grilling, ensuring more even cooking throughout the process.
Grilling Techniques
Grilling techniques play a crucial role in achieving the perfect reverse sear. I start by preheating the grill to a low temperature, around 225°F (107°C), using indirect heat. I place the steak on the grill grates away from the direct flames, letting it cook slowly until it reaches about 10°F (5.5°C) below the desired internal temperature. A meat thermometer is essential here; I aim for 125°F (52°C) for medium-rare. Once it’s close to that temperature, I increase the grill’s heat to about 500°F (260°C). After that, I sear the steak on each side for one to two minutes, creating a rich, flavorful crust. After searing, I let the steak rest for 5 to 10 minutes before slicing, ensuring the juices redistribute for maximum flavor.
Tips for Success
Perfecting the reverse sear technique for steak takes some practice, but a few essential tips can elevate your grilling game significantly.
Choosing the Right Cut
Choosing the right cut makes a difference in the reverse searing process. I recommend thick cuts like ribeye, New York strip, or porterhouse. These cuts contain enough fat and marbling to stay juicy throughout the cooking process. Consider selecting steaks that are at least 1.5 inches thick. Thicker cuts respond well to low and slow cooking, allowing flavors to develop while avoiding overcooking.
Temperature Control
Temperature control is critical for achieving the best results. Set your grill to a low, consistent temperature, around 225°F (107°C). Use a good meat thermometer to monitor the steak’s internal temperature, aiming to remove the steak once it reaches about 10°F (5.5°C) below your desired doneness. For medium-rare, that would be around 125°F (52°C). After the low-temperature cook, crank that grill up to about 500°F (260°C) for the sear. This high heat creates that beautiful crust while keeping the interior tender and juicy. Consistent temperature management prevents charring and ensures every bite packs a punch of flavor.
Common Mistakes to Avoid
Avoiding mistakes is crucial for a perfect reverse sear steak. Here are the most common pitfalls:
- Skipping the Meat Thermometer: Not using a meat thermometer leads to uncertainty in doneness. Monitor the internal temperature closely to pull your steak at 10°F (5.5°C) below your target.
- Choosing Thin Cuts: Opting for thin steaks hampers the reverse sear process. Select thick cuts like ribeye, New York strip, or porterhouse for optimal results.
- Cooking on High Heat from the Start: Starting with high heat causes uneven cooking. Begin at a low temperature of around 225°F (107°C) to ensure even doneness.
- Neglecting to Rest the Steak: Failing to rest the steak after searing can result in lost juices. Let it rest for 5 to 10 minutes to maximize flavor and tenderness.
- Not Preheating the Grill Properly: Inadequate preheating produces subpar sears. Ensure your grill reaches around 500°F (260°C) before the final sear for that mouthwatering crust.
- Skipping Seasoning: Overlooking seasoning diminishes flavor. Use a generous amount of salt and pepper or your favorite rub to enhance taste before cooking.
- Leaving the Steak Too Long on Indirect Heat: Allowing the steak to sit too long on indirect heat can lead to overcooking. Keep an eye on the temperature and avoid unnecessary delays.
- Failing to Account for Carryover Cooking: Ignoring carryover cooking results in overcooked steak. Remember that the temperature can rise by 5°F (3°C) during resting.
By steering clear of these common mistakes, your grilling game will soar, impressing family and friends alike.
Conclusion
Reverse searing has truly transformed how I grill steak. This method not only guarantees a juicy and tender interior but also creates a mouthwatering crust that elevates the entire experience. By embracing the low-and-slow approach followed by a high-heat sear I’ve found that I can achieve steak perfection every time.
With the right cuts and attention to detail I can impress anyone at my grill. Remember to use a meat thermometer and let that steak rest. Once you master reverse searing it’ll become your go-to technique for steak night. Happy grilling!


