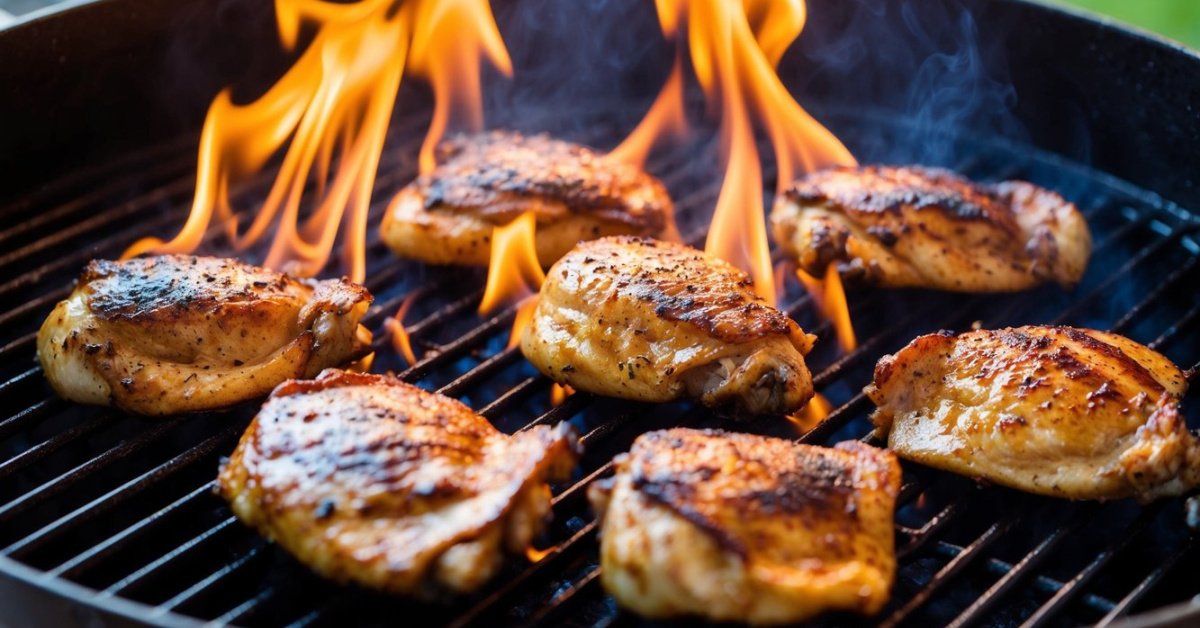
Nothing beats the taste of a perfectly grilled meal on a sunny day. But when your gas grill burner starts acting up, it can quickly put a damper on your BBQ plans. I’ve been there and know how frustrating it can be.

Replacing a gas grill burner might seem intimidating at first, but it’s actually a straightforward process. With a few tools and some simple steps, you can have your grill back in action in no time.
In this guide, I’ll walk you through everything you need to know to replace your gas grill burner, ensuring your next cookout goes off without a hitch.
Importance of Maintaining Your Grill
Regular maintenance ensures your grill operates efficiently. Clean burners prevent gas blockages, ensuring even heat distribution. Inspecting parts daily reduces the risk of malfunctions during use. Keeping your grill in good condition extends its lifespan, saving you money in the long run. Additionally, a well-maintained grill guarantees safer cooking, minimizing potential hazards.
Tools and Materials Needed
- Replacement Burner: Ensure compatibility with your grill model.
- Adjustable Wrench: Loosen and tighten burner connections effectively.
- Screwdrivers: Remove grill components with both flathead and Phillips heads.
- Wire Brush: Clean burner ports to prevent gas blockages.
- Teflon Tape: Secure airtight connections during reassembly.
- Safety Gloves: Protect your hands from sharp edges and debris.
- Propane Tank Wrench: Safely disconnect the gas source.
Steps to Replace a Gas Grill Burner
Replacing a gas grill burner is straightforward with the right steps. Follow these instructions to ensure a safe and efficient process.
Safety Precautions
Before starting, take safety measures to prevent accidents:
- Turn off the propane tank and disconnect it from the grill.
- Wear safety gloves to protect your hands.
- Ensure the area is well-ventilated to avoid gas buildup.
- Check connections for gas leaks after replacement using a soapy solution.
Removing the Old Burner
Follow these steps to remove the faulty burner:
- Remove the grates and flavorizer bars to access the burner.
- Unscrew the burner screws using an adjustable wrench.
- Disconnect the gas lines with a propane tank wrench carefully.
- Lift and take out the old burner from the grill.
Installing the New Burner
- Place the new burner in the designated position within the grill.
- Reconnect the gas lines securely, applying Teflon tape to ensure airtight seals.
- Screw the burner into place using the adjustable wrench.
- Reassemble the flavorizer bars and grates to their original positions.
- Test the burner for leaks and proper function by turning on the gas and igniting the burner.
Common Mistakes to Avoid
- Using the Wrong Burner Type: Selecting a burner incompatible with your grill model can lead to poor performance or safety hazards. Always verify the replacement burner matches your grill’s specifications.
- Neglecting to Turn Off the Gas Supply: Failing to completely shut off the propane tank before starting can result in gas leaks or accidents. Ensure the gas source is fully closed before beginning any replacements.
- Improper Tightening of Connections: Over-tightening or under-tightening gas connections may cause leaks or damage. Use an adjustable wrench to secure connections firmly without forcing them.
- Not Checking for Gas Leaks After Installation: Skipping a leak test can lead to dangerous gas leaks during operation. Always use a soapy water solution to inspect all connections for bubbles indicating leaks.
- Failing to Clean Burner Ports Before Installation: Installing a new burner without cleaning the ports can obstruct gas flow and impair grill performance. Use a wire brush to clear any debris from the burner ports before installation.
- Ignoring Manufacturer’s Instructions: Disregarding the specific guidelines provided by your grill’s manufacturer can result in improper installation. Follow the manual closely to ensure correct burner replacement.
Tips for Optimal Grill Performance
- Clean Regularly: Remove grease and food debris after each use to ensure even heat distribution and prevent blockages.
- Inspect Gas Connections: Check connections monthly for leaks, tightening fittings as needed and using Teflon tape to maintain airtight seals.
- Maintain Burners: Examine burners for signs of wear or corrosion every six months, replacing parts to avoid performance issues.
- Control Heat Zones: Adjust burner levels to create different temperature areas, allowing versatile cooking for various foods.
- Use Quality Fuel: Opt for high-grade propane to ensure consistent flame performance and extend burner lifespan.
- Protect Your Grill: Cover the grill or store it in a sheltered area to shield it from harsh weather, reducing rust and damage.
- Monitor Temperature: Use a reliable grill thermometer to maintain precise cooking temperatures for optimal results.
- Schedule Regular Maintenance: Perform a comprehensive check-up at least once a year, addressing any issues to keep the grill in top condition.
Conclusion
Grilling is one of my favorite ways to enjoy time outdoors. When a burner acts up it’s frustrating but replacing it is easier than you might think. Taking care of your grill keeps those sunny BBQ days rolling smoothly. With a few tools and some patience you can keep your grill in top shape and keep the good times cooking. Here’s to many delicious meals and perfect grill marks ahead!


