Welcome to your guide on how to remove the membrane from ribs! If you’re a fan of tender, fall-off-the-bone ribs, then you know that removing the tough membrane is a crucial step in the cooking process. In this article, we’ll walk you through a simple and effective method to ensure your ribs turn out perfectly every time. Whether you’re a seasoned pitmaster or a beginner griller, this technique will help you achieve that mouthwatering, melt-in-your-mouth texture that we all crave.
When it comes to ribs, the membrane can be a real challenge. It’s a thin, silvery layer that covers the bone side of the rack, and if left intact, it can prevent your rubs and sauces from penetrating the meat. Not to mention, it can make the ribs tough and chewy. But fear not! With a few easy steps, you’ll be able to remove that pesky membrane in no time. So grab your favorite rack of ribs, and let’s get started on this essential barbecue skill.
Before we dive into the technique, it’s important to understand why removing the membrane is necessary. By taking this extra step, you’ll ensure that your ribs are not only more flavorful, but also more tender and juicy. The membrane acts as a barrier, preventing your seasonings from fully infusing the meat. It also tends to shrink during cooking, causing the ribs to curl and become unevenly cooked. So, by removing the membrane, you’ll create a level playing field for your flavors to shine and achieve that perfect rib texture we all love.
Why Should the Membrane Be Removed from Ribs?
As a grill master, I know that one of the key secrets to grilling perfect ribs is to remove the membrane. You might be wondering, why go through the extra effort? Well, let me tell you why it’s worth it.
Enhanced Flavor: When you remove the membrane from ribs, it allows the seasonings and marinades to penetrate the meat fully. This means that every bite will be bursting with flavor. Trust me, you won’t want to miss out on that delicious taste!
Tender Texture: The membrane can make the ribs tough and chewy if left intact. By removing it, you ensure that your ribs are tender and juicy. Imagine sinking your teeth into succulent ribs that practically melt in your mouth. Sounds amazing, right?
Even Cooking: The membrane can cause the ribs to curl up while cooking, resulting in uneven heat distribution. This means that some parts of the ribs may be overcooked, while others remain undercooked. By removing the membrane, you create a flat surface that allows for even cooking, ensuring that each rib is perfectly done.
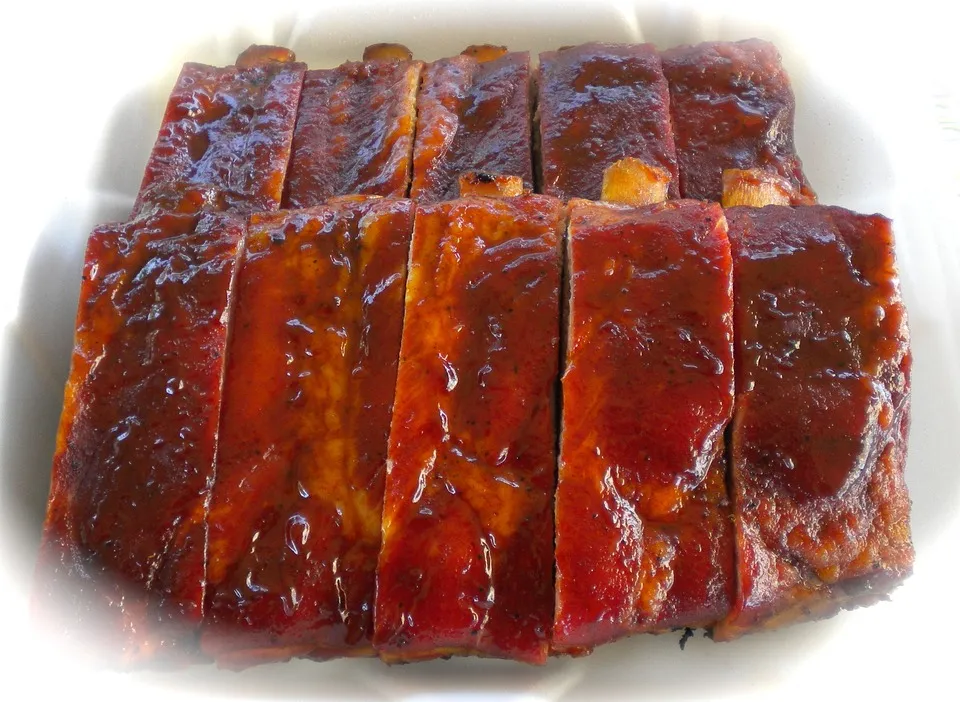
Improved Presentation: Let’s not forget about the visual appeal! When you remove the membrane, your ribs will have a clean and professional look. Whether you’re grilling for a backyard barbecue or a special occasion, presenting beautifully grilled ribs will surely impress your guests.
Tools You Will Need
To remove the membrane from ribs, you’ll need a few essential tools. These tools will make the process easier and ensure that you can achieve the best results. Here are the tools you’ll need:
- Sharp knife: A sharp knife is crucial for cutting through the tough membrane and separating it from the ribs. Make sure you have a knife with a sturdy blade that can handle the task.
- Paper towel: Having a paper towel handy will help you get a better grip on the membrane and make it easier to pull it off the ribs. It also helps to remove any excess moisture, allowing for better seasoning and smoke penetration.
- Small pair of pliers: Sometimes, the membrane can be stubborn and difficult to remove by hand. In such cases, a small pair of pliers can be a lifesaver. They will give you extra leverage to grip and pull the membrane off the ribs.
- Rubber gloves: While not necessary, wearing rubber gloves can protect your hands from any sharp edges or bones while handling the ribs. It also makes it easier to grip the membrane and remove it without slipping.
Step-by-step guide to removing the membrane
As a grill master, your goal is to create the most flavorful and tender ribs possible. One crucial step in achieving this is by removing the membrane from the ribs. This thin, silvery layer can make your ribs tough and chewy if left intact. But don’t worry, I’ll walk you through the process step by step.
- Prep your tools: Before you start, gather the necessary tools: a sharp knife, a paper towel, a small pair of pliers, and rubber gloves. These will make the task much easier and safer.
- Loosen the membrane: Start by finding a corner of the membrane on the bone side of the rack. Slide your knife under the membrane, loosening it from the bone. It may help to use the paper towel for a better grip.
- Remove the membrane: Once you have loosened the membrane, grab hold of it with the pliers. Hold it firmly and pull it off in one smooth motion. If it tears, use the knife to loosen it further and try again.
- Trim any excess: After removing the membrane, you may notice some excess fat or loose pieces. Use your knife to trim these away, ensuring a clean and even surface for seasoning.
That’s it! By following these simple steps, you have successfully removed the membrane from your ribs. Now, you can go ahead and season them to your heart’s content, knowing that the flavors will fully penetrate the meat. Plus, without the membrane, your ribs will cook more evenly and have a better presentation.
Tips for Removing the Membrane Effectively
Now that you understand the importance of removing the membrane from ribs, let’s dive into some tips to help you do it effectively. As a grill master, I want to make sure you have all the knowledge and techniques to grill better and achieve mouthwatering ribs every time. Here are some tips to help you remove the membrane like a pro:
- Start with a sharp knife: A sharp knife is essential for successfully removing the membrane. It allows you to make precise cuts and helps prevent the meat from tearing. So, before you begin, make sure your knife is sharp and ready to go.
- Use a paper towel for grip: The membrane can be quite slippery, making it challenging to get a good grip. To overcome this, grab a paper towel and use it to hold onto the membrane. This will give you better control and make the removal process easier.
- Get a small pair of pliers: Sometimes, the membrane can be stubborn and difficult to peel off with just your hands. In such cases, a small pair of pliers can be a game-changer. Use the pliers to grip and pull the membrane, starting from one end of the rack. This will help you get a good grip and remove the membrane in one smooth motion.
- Consider using rubber gloves: If you’re finding it difficult to remove the membrane with your bare hands, consider using rubber gloves. The gloves provide better traction and grip, making it easier to peel off the membrane without it slipping away.
What to do with the membrane once it’s removed
Now that you’ve successfully removed the membrane from your ribs, you may be wondering what to do with it. While the membrane itself isn’t typically used in cooking, there are a few options for how to handle it:
- Discard it: The easiest and most common option is to simply throw the membrane away. It’s not edible and doesn’t add any flavor or texture to your dish, so there’s no need to keep it.
- Use it for stock: If you’re looking to reduce waste and add flavor to your homemade stock or broth, you can actually save the membrane and use it as a base. Simmer it with other bones, aromatics, and spices to extract its gelatinous properties and enhance the depth of flavor in your soups or sauces.
- Feed it to your pets: If you have pets, particularly dogs, they might enjoy a little treat. The membrane can be a source of protein and a fun chew for them. Just make sure to cut it into smaller pieces to prevent choking hazards.
- Compost it: If you’re an avid gardener, consider adding the membrane to your compost pile. It will break down over time and contribute valuable nutrients to your soil, helping your plants thrive.
Remember, the most important thing is that you’ve removed the membrane from your ribs, ensuring a tender and delicious result. What you do with the membrane afterward is up to you. Feel free to get creative or stick with the simplest option of discarding it. The choice is yours!
Conclusion
By following the step-by-step guide provided in this article, you can easily remove the membrane from ribs, resulting in tender and flavorful meat. Remember to use a sharp knife, paper towel, small pair of pliers, and rubber gloves for effective removal.
Once the membrane is removed, you have several options for what to do with it. You can choose to discard it, use it for stock, feed it to your pets, or even compost it. The decision is entirely up to you and what suits your preferences.
Removing the membrane from ribs is a simple yet crucial step in achieving the best possible results when cooking ribs. By taking the time to remove the membrane, you allow the flavors to penetrate the meat more effectively, resulting in a more enjoyable eating experience.
So, whether you’re preparing ribs for a backyard barbecue or a special occasion, make sure to follow these tips and techniques to remove the membrane and elevate the taste and tenderness of your ribs. Enjoy your deliciously prepared ribs!

« Lump Charcoal vs Briquettes: A Comprehensive Comparison for Grilling
The Ultimate Guide to Finding the Best Small Grill for Outdoor Cooking »


