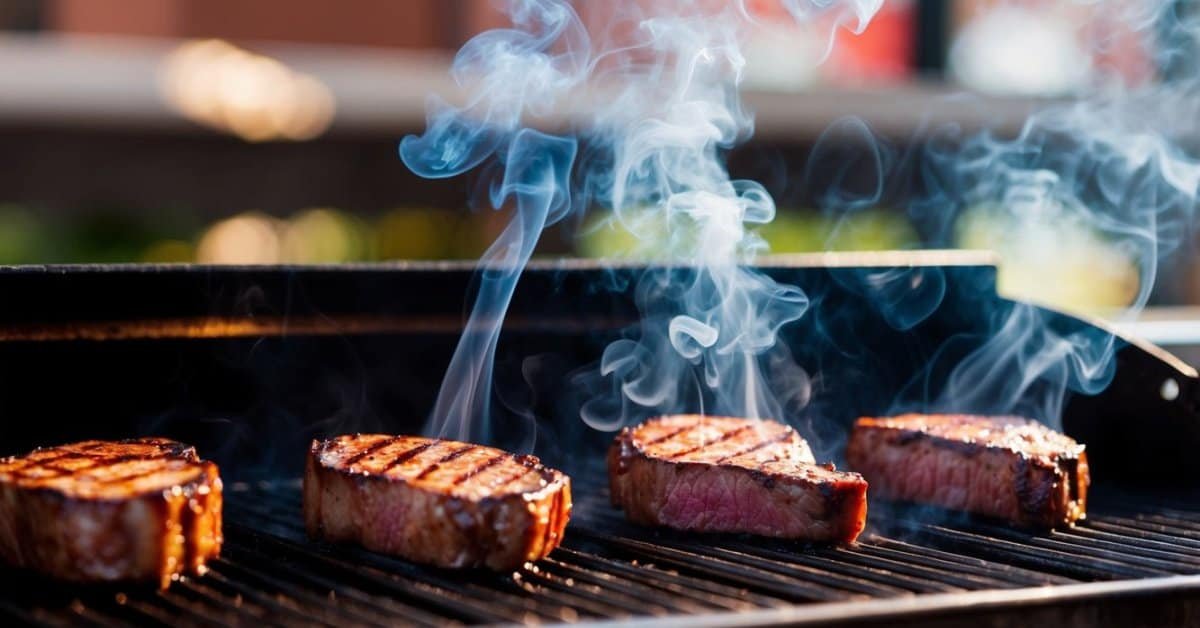
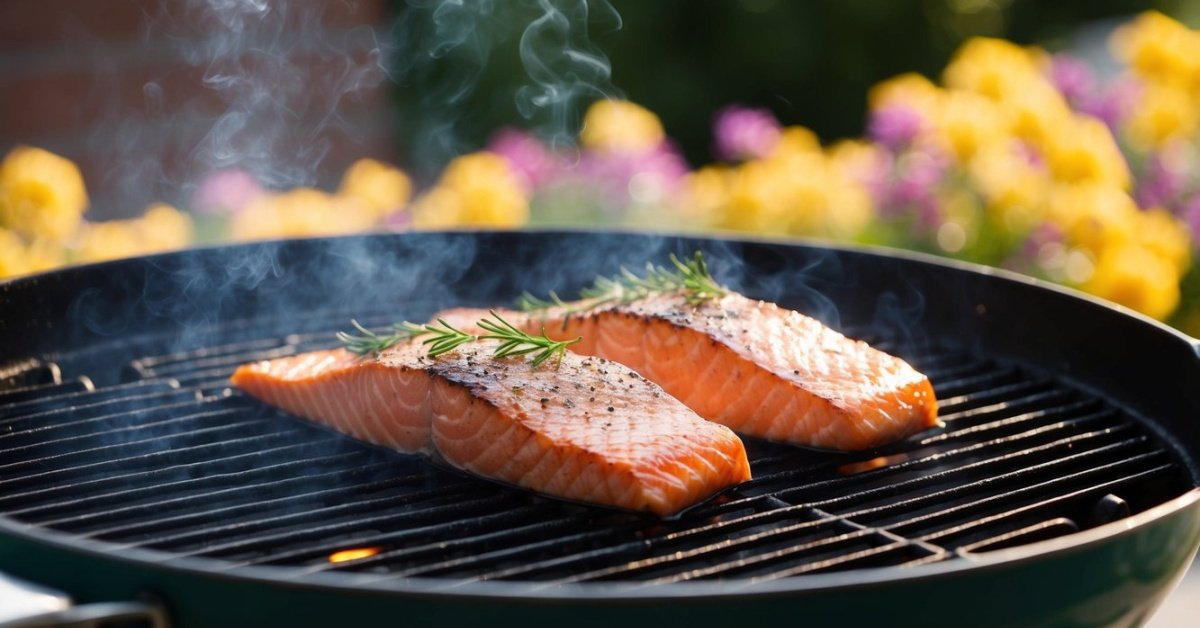
Grilling season is my favorite time of year and I love experimenting with my gas grill to create mouthwatering dishes. But sometimes it feels like the flavors just aren’t where I want them to be. That’s when I started digging for hacks that could take my grilling game to the next level.

From simple tweaks to unexpected techniques, these gas grill hacks have transformed my meals and impressed my friends and family. Whether you’re a seasoned griller or just starting out, a few adjustments can make a big difference in taste and your overall grilling experience.
Join me as I share the tips and tricks that have helped me unlock better flavors and make every barbecue a delicious success.
Choosing the Best Grilling Tools
Selecting the right tools can elevate your grilling game and enhance the flavors of your dishes. Here are the key items I rely on for the best results.
Essential Accessories
- Tongs: My stainless steel tongs offer precise control and durability, perfect for flipping and serving.
- Instant-Read Thermometer: Ensures accurate cooking temperatures, preventing over or undercooked meals.
- Grill Brush: Keeps the grates clean, maintaining optimal heat distribution and flavor.
- Heat-Resistant Gloves: Protect my hands from high temperatures, allowing safe handling of hot cookware.
- Spray Bottle: I use it to moisten meat, preventing dryness during grilling.
High-Quality Cookware
- Cast Iron Skillets: Excellent heat retention and even cooking, ideal for searing meats and vegetables.
- Grill Pans: Provide those coveted grill marks and additional surface area for versatile cooking.
- Rotisserie Kits: Enhance flavors by enabling even roasting and self-basting of large cuts.
Mastering Temperature Control
Proper temperature control enhances flavors and ensures perfectly cooked dishes. Implementing effective techniques optimizes your grilling results.
Preheating Your Grill
Preheating establishes a stable cooking environment, essential for even heat distribution. I preheat my grill for 10-15 minutes, reaching temperatures between 400°F and 500°F. This step prevents sticking and promotes searing, locking in juices.
Managing Heat Zones
Creating distinct heat zones allows versatile cooking methods. I set up a high-heat zone (450°F) for searing and a low-heat zone (300°F) for slow cooking. This configuration enables grilling various foods simultaneously, ensuring each item cooks to perfection.
| Heat Zone | Temperature | Purpose |
|---|---|---|
| High-Heat Zone | 450°F | Searing |
| Low-Heat Zone | 300°F | Slow Cooking |
By mastering these temperature control techniques, I achieve better flavor and consistent results in every grill session.
Enhancing Flavors with Marinades and Rubs
Marinades and rubs transform simple ingredients into flavorful masterpieces. I use these techniques to elevate every grilling session.
Best Marinade Recipes
Here are my top marinade recipes for various proteins:
- Classic Herb Marinade: Combine 1/4 cup olive oil, 2 tablespoons lemon juice, 3 cloves minced garlic, 1 tablespoon chopped rosemary, 1 tablespoon chopped thyme, and salt.
- Spicy Teriyaki Marinade: Mix 1/3 cup soy sauce, 2 tablespoons brown sugar, 1 tablespoon Sriracha, 2 minced garlic cloves, and 1 teaspoon ginger paste.
- Citrus Garlic Marinade: Blend 1/4 cup orange juice, 2 tablespoons lime juice, 3 cloves garlic minced, 1 tablespoon honey, and 1 teaspoon cumin.
- Smoky Chipotle Marinade: Stir together 1/4 cup adobo sauce, 2 tablespoons apple cider vinegar, 1 tablespoon olive oil, 1 teaspoon smoked paprika, and 1 teaspoon chili powder.
Creating Homemade Rubs
Making your own rubs ensures fresh and customized flavors. Here’s how I create effective rubs:
- Balanced Spice Rub: Mix 2 tablespoons brown sugar, 1 tablespoon paprika, 1 tablespoon salt, 1 teaspoon black pepper, and 1 teaspoon garlic powder.
- Bold Coffee Rub: Combine 2 tablespoons finely ground coffee, 1 tablespoon brown sugar, 1 tablespoon chili powder, 1 teaspoon cumin, and 1 teaspoon salt.
- Herb and Citrus Rub: Blend 1 tablespoon dried oregano, 1 tablespoon dried thyme, 1 tablespoon lemon zest, 1 teaspoon salt, and 1 teaspoon pepper.
- Sweet and Spicy Rub: Mix 2 tablespoons brown sugar, 1 tablespoon cayenne pepper, 1 tablespoon paprika, 1 teaspoon garlic powder, and 1 teaspoon onion powder.
Use these rubs by generously applying them to your protein before grilling. Let the flavors penetrate for at least 30 minutes for optimal taste.
Infusing Smoke for Deeper Flavor
Adding smoke to your gas grill enhances the flavor profile of your dishes, giving them a rich, smoky taste usually associated with charcoal grilling. Here are several effective methods to infuse smoke into your gas grilling sessions:
Use a Smoker Box
A smoker box holds wood chips and allows them to smolder, producing smoke that flavors your food. To use a smoker box:
- Select Wood Chips: Choose from hickory, apple, mesquite, or cherry based on your flavor preference.
- Soak Chips: Soak wood chips in water for at least 30 minutes to prevent them from burning too quickly.
- Place in Smoker Box: Drain the chips and add them to the smoker box.
- Heat the Grill: Preheat your gas grill to the desired temperature, allowing the chips to start smoldering.
Create Aluminum Foil Packets
Aluminum foil packets are a simple alternative to smoker boxes. To make them:
- Combine Chips and Foil: Place a handful of soaked wood chips in the center of a large piece of aluminum foil.
- Seal the Packet: Fold the foil edges tightly to create a sealed packet.
- Poke Holes: Pierce the top of the packet with a fork to allow smoke to escape.
- Place on Grill: Position the packet directly on the burner or near the heat source.
Utilize Wood Pucks
Wood pucks are pre-formed discs made from compressed wood chips. They provide a consistent smoke output. To use wood pucks:
- Choose Your Flavor: Select wood pucks in flavors like apple, pecan, or alder.
- Preheat the Grill: Heat your gas grill to around 350°F.
- Place the Puck: Put the wood puck on the highest burner or in a smoker box.
- Monitor Smoke Production: Add more pucks as needed throughout the grilling process.
Incorporate Wood Chunks
For longer smoking sessions, wood chunks work better than chips. Follow these steps:
- Select Large Chunks: Opt for chunks of oak, maple, or cherry for extended smoke.
- Preheat the Grill: Set your gas grill to a steady temperature, ideally between 300°F and 350°F.
- Add Chunks to Fire: Place wood chunks directly on the burners or in a dedicated smoking tray.
- Maintain Smoke Levels: Replenish chunks as they begin to burn out to sustain consistent smoke.
Choose the Right Wood for Your Meat
Different woods complement various types of meat. Use the following table to match your wood choice with the appropriate meat:
| Wood Type | Best For | Flavor Profile |
|---|---|---|
| Hickory | Pork ribs, bacon | Strong, hearty smoke |
| Apple | Poultry, pork tenderloin | Sweet, mild smoke |
| Mesquite | Beef brisket, steaks | Intense, bold smoke |
| Cherry | Chicken, turkey, fish | Fruity, mild smoke |
| Oak | Beef, lamb, fish | Medium, versatile smoke |
By selecting the right method and wood type, you can consistently infuse your gas-grilled dishes with deeper, more complex flavors. Experiment with different techniques and wood varieties to discover your favorite smoky profiles.

Cleaning and Maintenance Tips
« Delicious BBQ Brussels Sprouts with Bacon Recipe – Perfect for Every Occasion
Types of Smokers: A Guide to Choosing the Right Smoker for You »
Cleaning and maintaining my gas grill ensures optimal performance and better flavor. I follow these essential tips to keep my grill in top condition:
- Clean the Grates Regularly: Use a sturdy grill brush to remove food residue after each use, preventing buildup that can affect taste.
- Inspect and Clean Burners: Check burners monthly for clogs or corrosion. Clear any blockages to maintain even heating.
- Empty the Grease Tray: After every grilling session, remove and clean the grease tray to prevent flare-ups and extend the grill’s lifespan.
- Protect with a Cover: Use a weather-resistant cover when the grill isn’t in use, minimizing rust and environmental damage.
- Deep Clean Periodically: Every few months, soak removable parts in soapy water and scrub the exterior with a damp cloth to maintain appearance and functionality.
- Check for Gas Leaks: Regularly inspect hoses and connections for leaks by applying a soapy water solution and looking for bubbles while the gas is on.
- Lubricate Moving Parts: Apply a high-temperature lubricant to hinges and knobs to ensure smooth operation and prevent rust.
- Store Properly During Off-Seasons: If storing the grill for extended periods, drain the propane tank and store the grill in a dry, sheltered area to avoid damage.
Following these cleaning and maintenance practices keeps my gas grill performing efficiently, delivering consistent and flavorful results every time I cook.
Conclusion
Grilling has become one of my favorite ways to bring people together and create delicious meals. Exploring these gas grill hacks has truly transformed my cooking experience and the flavors I can achieve.
I’m excited for you to try out these tips and see how they can elevate your own barbecues. Here’s to many flavorful and memorable grilling sessions ahead!


