Looking to add a little flavor to your outdoor cooking? DIY charcoal grills might just be the answer you’re looking for. Whether you’re a seasoned grill master or a beginner, building your own charcoal grill can be a fun and rewarding project. In this article, we’ll explore the benefits of DIY charcoal grills and provide you with some tips and tricks to get you started. So grab your tools and let’s get grilling!
When it comes to cooking with charcoal, there’s something undeniably satisfying about the smoky flavor it imparts on your food. And what better way to enjoy that flavor than by building your own charcoal grill? DIY charcoal grills offer a level of customization and creativity that store-bought grills simply can’t match. From choosing the perfect size and shape to adding unique features, the possibilities are endless. In this article, we’ll guide you through the process of building your own charcoal grill from scratch, so you can enjoy delicious grilled meals all summer long.
History of Charcoal Grills
As a grill master, it’s important to understand the history of charcoal grills. Knowing how they evolved over time can give you a deeper appreciation for the art of grilling. So, let’s take a trip back in time and explore the fascinating history of charcoal grills.
- Ancient Roots: Grilling with charcoal dates back thousands of years. In ancient civilizations like Egypt, Greece, and Rome, people used open fires and primitive grills made of stone or clay to cook their food. These early grills laid the foundation for what would later become the modern charcoal grill.
- The Advent of Charcoal: Charcoal, as a cooking fuel, became popular during the Industrial Revolution in the 19th century. It was a readily available and affordable alternative to wood. Charcoal burners, similar to what we now call charcoal grills, started to gain popularity among households.
- The Birth of the Weber Kettle Grill: In 1952, George Stephen Sr., a metalworker and inventor, revolutionized the world of grilling by creating the iconic Weber Kettle Grill. This innovative design featured a round shape, a lid, and vents for controlling airflow. The Weber Kettle Grill became a sensation and laid the foundation for the modern charcoal grill we know and love today.
- Advancements and Customization: Over the years, charcoal grills have seen numerous advancements and customization options. From portable grills for camping to large, charcoal-fueled smokers, there’s a charcoal grill for every grilling enthusiast. Modern charcoal grills come with features like adjustable grates, temperature gauges, and even side burners for added convenience.
Types of Charcoal Grills
Now that you’re familiar with the benefits of DIY charcoal grills, let’s dive into the different types of grills you can build. Each type offers its own unique features and advantages, allowing you to choose the perfect grill for your needs and preferences.
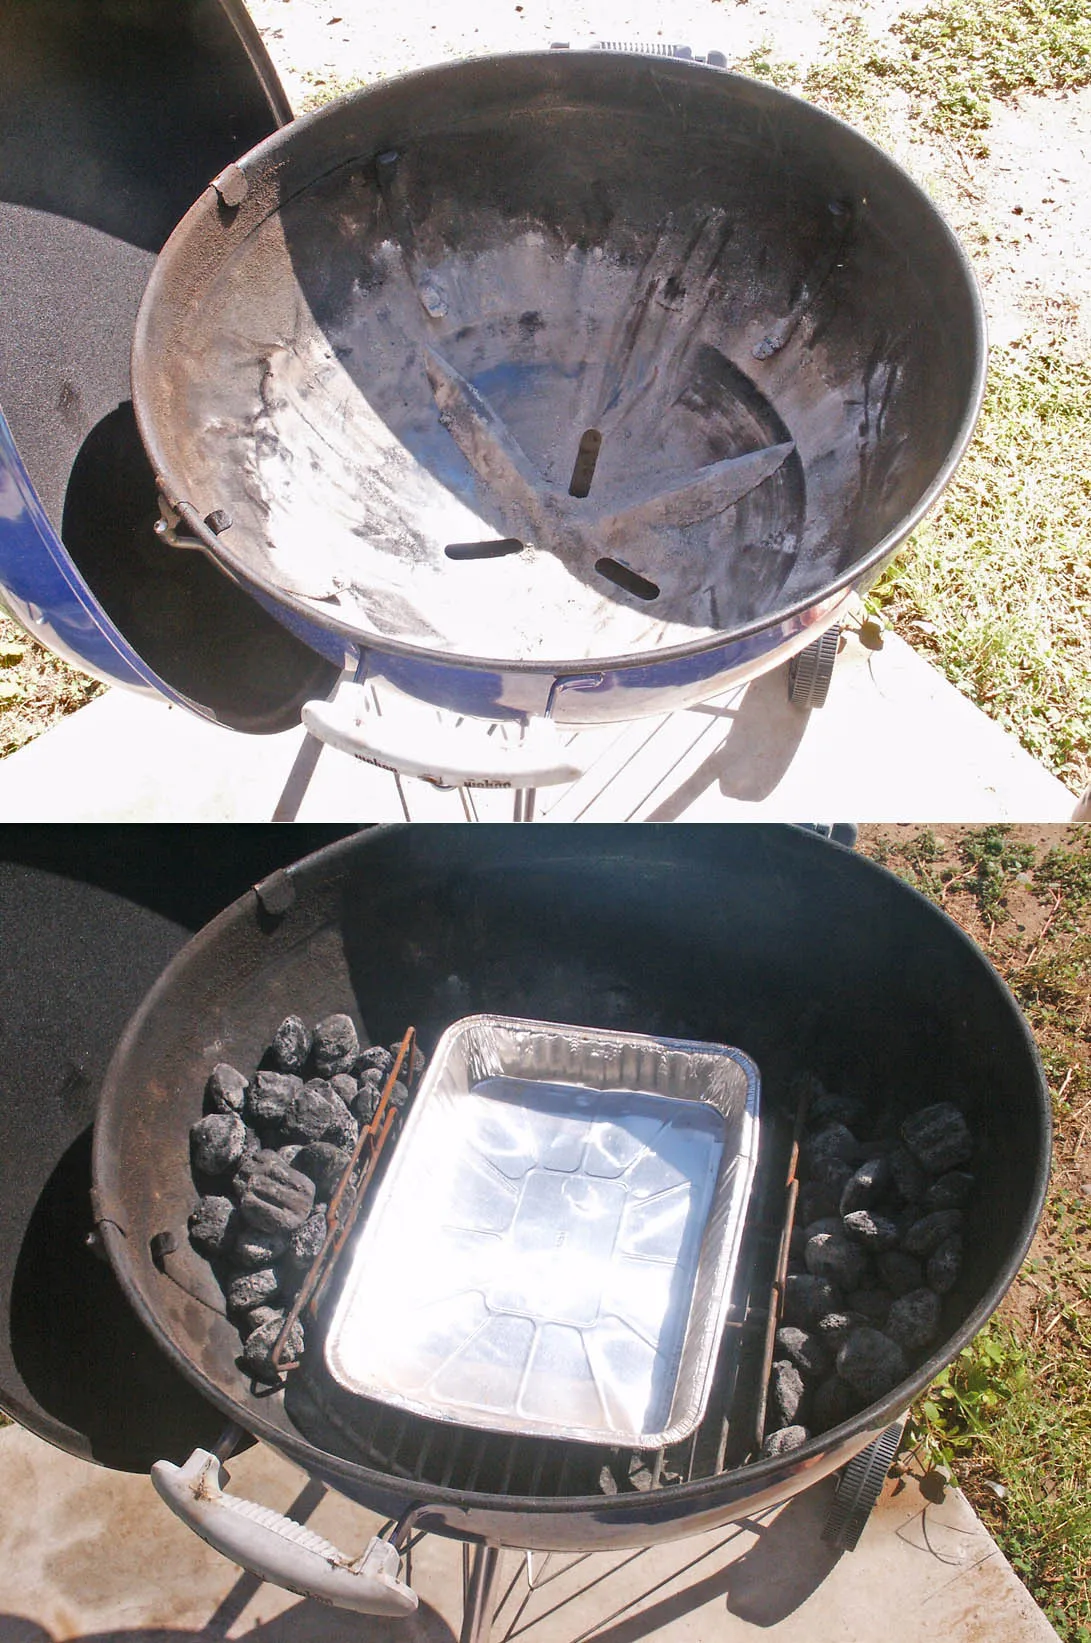
- Kettle Grills: One of the most popular types of charcoal grills, kettle grills are known for their iconic shape. They consist of a round or oval-shaped cooking chamber with a domed lid. Kettle grills are versatile and great for both direct and indirect grilling. They are easy to use and control the temperature, making them ideal for beginners.
- Barrel Grills: As the name suggests, barrel grills are made from repurposed barrels. These grills offer a larger cooking surface area, making them perfect for grilling for a crowd. The barrel design allows for even heat distribution, resulting in deliciously grilled food. You can also add additional features like smoking chambers or rotisserie attachments to enhance your grilling experience.
- Cart Grills: Cart grills are freestanding grills that come with a built-in cart or stand. They offer convenience and mobility, allowing you to easily move the grill around your backyard or patio. Cart grills often have additional features like side tables, storage space, and even gas burners for added versatility.
- Brick or Stone Grills: If you’re looking for a permanent and stylish grilling solution, consider building a brick or stone grill. These grills are built using bricks or stones and can be customized to fit your desired size and design. They offer excellent heat retention and can be equipped with various accessories like rotisseries or pizza ovens.
- Portable Grills: Perfect for camping trips or tailgating parties, portable grills are compact and lightweight. They are designed for easy transportation and quick assembly. Despite their small size, portable grills can still deliver excellent grilling results.
Remember, when choosing a charcoal grill, consider factors such as cooking capacity, portability, and additional features. The right grill for you will depend on your grilling needs and preferences.
Now that you know the different types of charcoal grills available, let’s move on to the next step – selecting the right materials for your DIY grill.
Choosing the Right Charcoal for Grilling
As a grill master, you know that the type of charcoal you use can greatly affect the flavor and cooking experience. When it comes to choosing the right charcoal for grilling, there are a few factors to consider. Let’s dive in and find out what you need to know:
1. Lump Charcoal vs. Briquettes: Lump charcoal is made from natural hardwood and provides a clean and smoky flavor to your grilled food. It burns hotter and faster than briquettes, making it perfect for searing steaks or cooking quick meals. On the other hand, briquettes are more affordable and burn longer, making them ideal for low and slow cooking like smoking ribs or brisket.
2. Charcoal Size: The size of the charcoal pieces also matters. Smaller pieces ignite faster and are great for quick grilling sessions. Larger pieces take longer to ignite but provide a consistent heat for longer cooking sessions. Choose the size that suits your grilling needs.
3. Charcoal Quality: Look for high-quality charcoal brands that have minimal additives. Cheaper charcoals often contain fillers and chemicals that can affect the taste of your food. Opt for natural charcoal without any added chemicals or additives for a cleaner and more authentic grilling experience.
4. Consider Flavor: Some charcoal brands offer flavored options like mesquite, hickory, or applewood. These can add a unique and delicious smoky flavor to your grilled dishes. Experiment with different flavors to find your favorite.
Remember, the type of charcoal you choose will impact the flavor, heat, and cooking time of your grilled food. So, take the time to select the right charcoal for your grilling needs. Now that you know how to choose the perfect charcoal, let’s move on to the next step – building your DIY charcoal grill!
Stay tuned for more grilling tips and tricks in our ongoing article.
Building a DIY Charcoal Grill: Materials and Tools Needed
Now that you have a good understanding of the benefits of DIY charcoal grills and the different types you can build, it’s time to dive into the practical side of things. Building your own charcoal grill can be a fun and rewarding project, but it’s important to have the right materials and tools on hand to make the process smooth and successful.
Here’s a list of materials and tools you’ll need to get started:
- Metal drum or barrel: Look for a food-grade metal drum or barrel that is large enough to accommodate your grilling needs. Ensure it’s clean and free from any chemicals or residues.
- Grates: You’ll need grates to place your food on while grilling. Stainless steel or cast iron grates are recommended for their durability and heat retention.
- Metal legs or frame: To provide stability and elevation for your grill, you’ll need metal legs or a frame to support the drum or barrel. Make sure it’s sturdy enough to hold the weight of the grill and withstand high temperatures.
- Hinges, handles, and vents: These are essential for easy access and control during the grilling process. Hinges will allow you to open and close the lid, handles will provide a safe grip, and vents will help regulate airflow and temperature.
- Drill and drill bits: You’ll need a drill to create holes for the vents and handles. Make sure you have the appropriate drill bits for the size of the holes you need to make.
- Safety gear: Always prioritize safety when working with tools and materials. Wear gloves, safety glasses, and a dust mask to protect yourself from any potential hazards.
Remember, building a DIY charcoal grill is a creative and customizable process. Feel free to add any additional features or accessories that suit your grilling preferences. Just make sure to follow safety guidelines and use materials that are suitable for high heat.
Step-by-Step Guide to Building Your Own Charcoal Grill
Are you ready to take your grilling game to the next level? Building your own charcoal grill is not only a fun project, but it also allows you to customize your grill to fit your specific needs. In this step-by-step guide, I’ll walk you through the process of building your very own charcoal grill. Let’s get started!
- Gather the Materials: Before you begin, make sure you have all the necessary materials and tools. You’ll need a metal drum or barrel, grates, metal legs or a frame, hinges, handles, vents, a drill, and safety gear. Keep in mind that you can repurpose certain items, such as an old oil drum, to save money and reduce waste.
- Prepare the Drum: Start by cleaning and preparing the metal drum. Remove any existing paint or coatings using a wire brush or sandpaper. This will ensure that the heat from the charcoal can be evenly distributed throughout the drum.
- Cut Openings: Next, mark and cut the necessary openings on the drum. You’ll need a hole for the grates, vents for airflow control, and a door for easy access to the charcoal. Use a drill with a metal-cutting bit to make clean and precise cuts. Remember to wear safety goggles and gloves during this step.
- Attach Legs or Frame: Depending on your preference, you can either attach metal legs to the drum or build a frame for it to sit on. Make sure the legs or frame are sturdy and stable to support the weight of the drum and the food you’ll be grilling.
- Install Grates: Place the grates inside the drum, ensuring they fit securely. These grates will be where you’ll place your food for grilling, so make sure they are clean and in good condition.
- Add Handles and Vents: Attach handles to the drum for easy maneuverability. Additionally, install vents on the drum to control the airflow and regulate the temperature while grilling. This will help you achieve that perfect smoky flavor.
And that’s it! You’ve successfully built your own charcoal grill. Now it’s time to fire it up and start grilling your favorite meats, vegetables, and more. Remember to always prioritize safety when using your homemade grill and follow proper grilling techniques.

« Tips for Enjoying Barbecue Without Triggering Acid Reflux
Discover the Versatility and Flavor of Barbecue Sauce as a Marinade »
Keep in mind that this is just a basic guide, and you can always get
Tips for Maintaining and Cleaning Your DIY Charcoal Grill
Now that you have successfully built your DIY charcoal grill, it’s important to know how to properly maintain and clean it. By taking good care of your grill, you can ensure that it will last for many grilling seasons to come. Here are some handy tips to help you keep your grill in top shape:
1. Regularly clean the grates: After each use, it’s important to clean the grates to remove any leftover food and grease. Simply brush the grates with a grill brush to remove any debris. This will not only prevent any unwanted flavors from transferring to your food but also make it easier to grill next time.
2. Empty the ash catcher: As you grill, ash will accumulate in the bottom of the grill. It’s important to empty the ash catcher regularly to ensure proper airflow. When the ash builds up, it can block the vents and affect the heat distribution. So, make sure to remove the ash after each use.
3. Check and clean the vents: The vents on your grill play a crucial role in controlling the airflow and temperature. Over time, they can get clogged with ash or debris. Check the vents regularly and clean them with a brush or a damp cloth if needed. This will ensure that your grill operates efficiently.
4. Protect your grill: When your grill is not in use, it’s a good idea to protect it from the elements. Invest in a grill cover that fits your DIY charcoal grill to shield it from rain, snow, and other harsh weather conditions. This will help prevent rust and prolong the lifespan of your grill.
5. Perform regular maintenance: Take the time to inspect your grill regularly for any signs of wear and tear. Replace any damaged parts, such as worn-out grates or broken handles. By performing regular maintenance, you can keep your grill in optimal condition and avoid any potential safety hazards.
Advantages and Disadvantages of DIY Charcoal Grills
Let’s talk about the advantages and disadvantages of building your own charcoal grill. As a grill master, I want to equip you with all the information you need to make an informed decision. So, let’s dive right in!
Advantages
- Cost-effective: One of the biggest advantages of DIY charcoal grills is the cost. Building your own grill can be significantly cheaper than buying a pre-made one. You have the flexibility to choose affordable materials and repurpose items, saving you money in the process.
- Customization: Building your own grill allows you to tailor it to your specific needs and preferences. You can choose the size, shape, and features that will work best for your grilling style. Whether you want extra grates, a rotisserie attachment, or a built-in smoker, the possibilities are endless.
- Satisfaction and pride: There’s a sense of accomplishment that comes with building something with your own hands. As you fire up your DIY charcoal grill and enjoy delicious meals with family and friends, you’ll feel a sense of pride in your creation.
Disadvantages
- Time and effort: Building a DIY charcoal grill requires time and effort. You’ll need to gather the materials, tools, and follow the step-by-step instructions carefully. It’s important to be patient and dedicated throughout the process.
- Skill level required: Depending on the complexity of the design, building a DIY charcoal grill may require some basic welding, cutting, and assembly skills. If you don’t have experience in these areas, it may take some extra time and effort to acquire the necessary skills or seek assistance.
- Safety considerations: Safety should always be a top priority when building and using any grill. DIY charcoal grills may not come with the same safety features and certifications as commercial grills. It’s crucial to follow safety guidelines, such as keeping a safe distance from flammable objects, monitoring the grill while in use, and practicing proper fire safety measures.
Remember, every decision comes with its own set of pros and cons. Consider these advantages and disadvantages before embarking on your DIY charcoal grill project. With the right planning, materials, and safety precautions, you can create a grill that will bring you many delicious meals and memorable moments. Now, let’s move on to the next step in building your DIY charcoal grill – preparing the metal drum.
Safety Precautions for Using DIY Charcoal Grills
Grilling is a wonderful way to enjoy delicious food and spend time with friends and family. However, it’s important to prioritize safety when using a DIY charcoal grill. By following a few simple precautions, you can ensure a safe and enjoyable grilling experience. Here are some essential safety tips to keep in mind:

- Choose a Safe Location: Before firing up your DIY charcoal grill, make sure it’s placed on a stable, non-flammable surface. Keep it away from any structures, such as your house or garage, to reduce the risk of fire. Also, ensure there is enough clearance above the grill to prevent any hazards.
- Proper Ventilation: Charcoal grills produce carbon monoxide, a colorless and odorless gas that can be dangerous if inhaled in high concentrations. It’s crucial to grill in a well-ventilated area, preferably outdoors, to allow the gas to dissipate. Never use a charcoal grill indoors or in an enclosed space.
- Keep a Fire Extinguisher Handy: Accidents happen, so it’s always wise to have a fire extinguisher nearby when grilling. Familiarize yourself with how to use it properly before you start grilling. In case of a small fire, you can quickly extinguish it and prevent it from spreading.
- Use Long-Handled Tools: To protect yourself from burns or injuries, use long-handled grilling tools. This will allow you to handle food and adjust the charcoal without getting too close to the heat source. Remember, safety should always be your top priority.
- Avoid Flammable Liquids: Never use flammable liquids, such as gasoline or lighter fluid, to start or enhance the fire in your DIY charcoal grill. These substances can cause sudden flare-ups and pose a significant risk of burns. Instead, opt for safer alternatives like charcoal chimney starters or natural fire starters.
- Monitor the Grill: Never leave your DIY charcoal grill unattended while it’s lit. Keep a close eye on the flames and the cooking process to prevent any accidents. It’s also essential to keep children and pets away from the grill to avoid any potential injuries.
By following these safety precautions, you can enjoy the delicious flavors of grilled food while ensuring the well-being of yourself and your loved ones. Remember, grilling should be a fun and enjoyable experience, so prioritize safety every time you fire up
Creative DIY Charcoal Grill Designs
Now that you have learned the basics of building a DIY charcoal grill, it’s time to explore some creative designs that can take your grilling experience to the next level. These unique designs not only add a touch of style but also enhance the functionality of your homemade grill. Here are a few ideas to inspire you:
- Tabletop Grill: Transform a wooden or metal table into a functional grilling station. Cut an opening in the center of the table and place your metal drum or grill grate on top. This design allows you to have a dedicated grilling area while still having ample space for food preparation and serving.
- Smoker Combo: If you enjoy the smoky flavor of slow-cooked meats, consider adding a smoker attachment to your DIY charcoal grill. You can build a separate smoking chamber attached to the side of your grill, allowing you to smoke meats while simultaneously grilling. This versatile design is perfect for barbecue enthusiasts who love experimenting with different flavors.
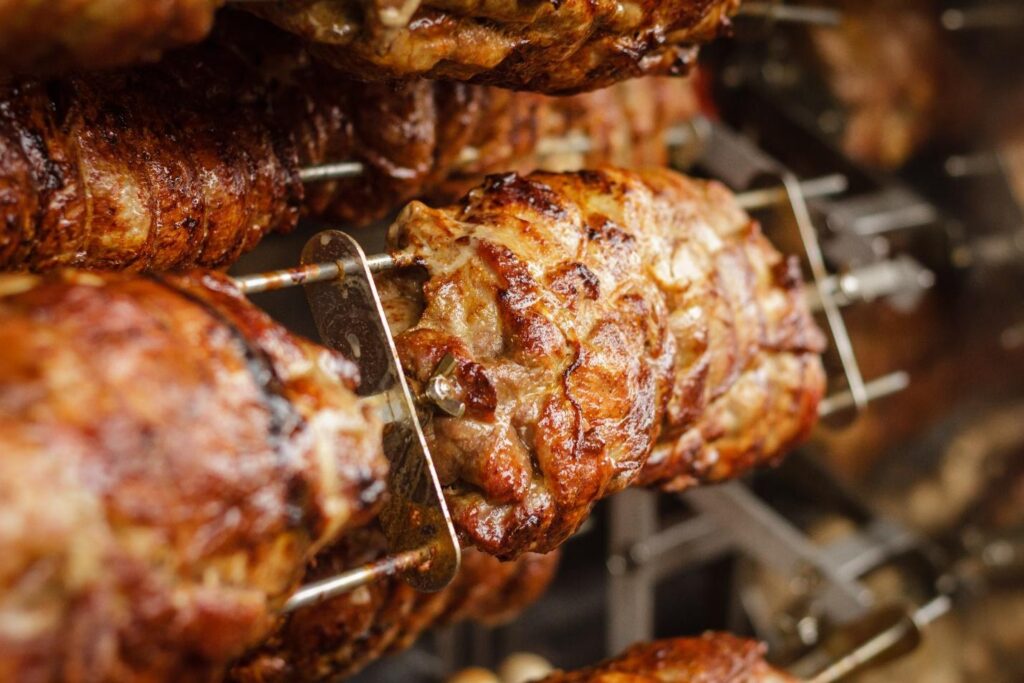
- Rotisserie Grill: Take your grilling game to new heights with a rotisserie attachment. This design allows you to cook succulent rotisserie-style meats with ease. Attach a rotisserie motor and skewer to your grill, and let it do the work of evenly cooking and basting your meats. Impress your friends and family with juicy, perfectly cooked rotisserie chicken or a tender roast.
- Portable Grill: For those who love grilling on the go, a portable DIY charcoal grill is a must-have. Convert a metal toolbox or a small metal drum into a compact and lightweight grill. Add foldable legs and handles for easy transportation. This design is perfect for tailgating, camping trips, or picnics in the park.
Remember, these designs are just starting points to unleash your creativity. Feel free to mix and match ideas or come up with your own unique design. The possibilities are endless when it comes to building a DIY charcoal grill that suits your specific grilling needs.
Conclusion
Building your own DIY charcoal grill can be a rewarding and cost-effective way to enhance your grilling experience. By following the step-by-step guide provided in this article, you can create a customized grill that suits your specific needs and preferences.
Remember to prioritize safety throughout the process. Choose a safe location for your grill, ensure proper ventilation, and always have a fire extinguisher nearby. Additionally, use long-handled tools, avoid flammable liquids, and keep a close eye on your grill to prevent accidents.
Regular maintenance and cleaning are essential for keeping your DIY charcoal grill in optimal condition. Clean the grates regularly, empty the ash catcher, and check and clean the vents. Protecting your grill with a cover and performing routine maintenance will ensure its longevity and safety.
Finally, don’t be afraid to get creative with your DIY charcoal grill design. Consider building a tabletop grill, a smoker combo, a rotisserie grill, or a portable grill to further personalize your grilling experience.
With the right materials, tools, and a little bit of skill, you can enjoy the satisfaction of grilling on a homemade charcoal grill that meets your unique requirements. Happy grilling!


